Share this
How to Take Great Before-and-After Dental Photos
by Great Dental Websites on Aug 11, 2021 10:00:00 PM
You're a dentist, not a photographer. But when it comes to showing prospective patients what you can do, a picture is worth 1,000 words. In this post, we'll cover essential dental photography tips to help you create jaw-dropping before-and-after photos.
Why Take Before-and-After Dental Photos
While dental photos are great for diagnosis and treatment planning with your team, there are other reasons to take before and after dental photos.
You can use dental photos as a tool to educate your patients about their smile. Before and after dental photos can also help you make the case for a recommended plan of action. It’s easier to use visual aids when discussing oral health with your patients, especially if they’re not familiar with common dental terminology. Your patient may not be able to visualize what you’re saying, but when you show them the before and after of a patient with a similar issue, they’ll get what you’re saying.
Plus, seeing is believing—and confidence building. Your patient may know that you provide a specific service, but nothing beats seeing the transformation with their own eyes. Reviews are great and necessary, but photos provide an extra cherry on the top of that social proof sundae.
How to Take Great Before-and-After Dental Photos
Let’s discuss how to take high-quality photos that you can use to attract and educate prospective patients.
1. Start With the Right Camera

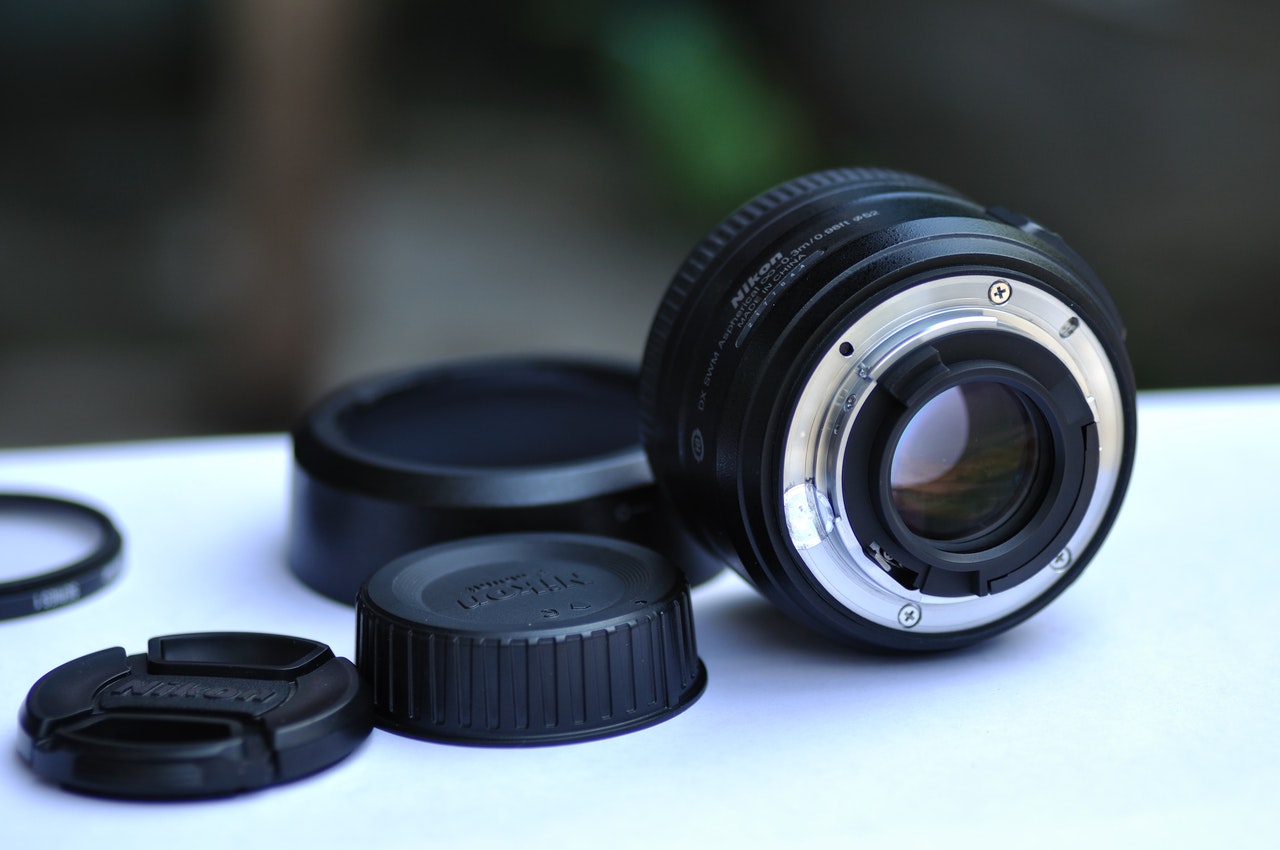
A digital single-lens reflex camera, known as a DSLR, is the right option for dental photography. Not only does it look more professional than using your smartphone, it also produces better photographs.
To get the most use out of your DSLR camera, be sure to do the following:
- Use a macro lens between 85 to 105 mm
- Use a ring light instead of the camera’s flash (ring lights are perfect for intraoral photos because they eliminate shadows)
- Ensure that your camera’s ISO (the control responsible for brightening or darkening the photo) is dialed to a low number, such as ISO 100
2. Find the Light
Good lighting is essential for good photography. Most photographers will tell you that natural daylight is the best light, which is true. However, natural daylight is notoriously unpredictable. Clouds can dramatically impact the amount of light available to you. It’s also inconsistent. Sunlight is warmer in the morning and evening and cooler at midday. Those colors can cast a bluish or reddish shade on your photos.
This is why it’s a good idea to have a ring light. Ring lights ensure that you get the perfect shot each time and pick up the right color of your subject’s teeth. Ring lights can be inexpensive (less than $100) but are invaluable to the dental photography process.
3. Use the Right Tools

In addition to your DSLR and ring light, be sure to use the following:
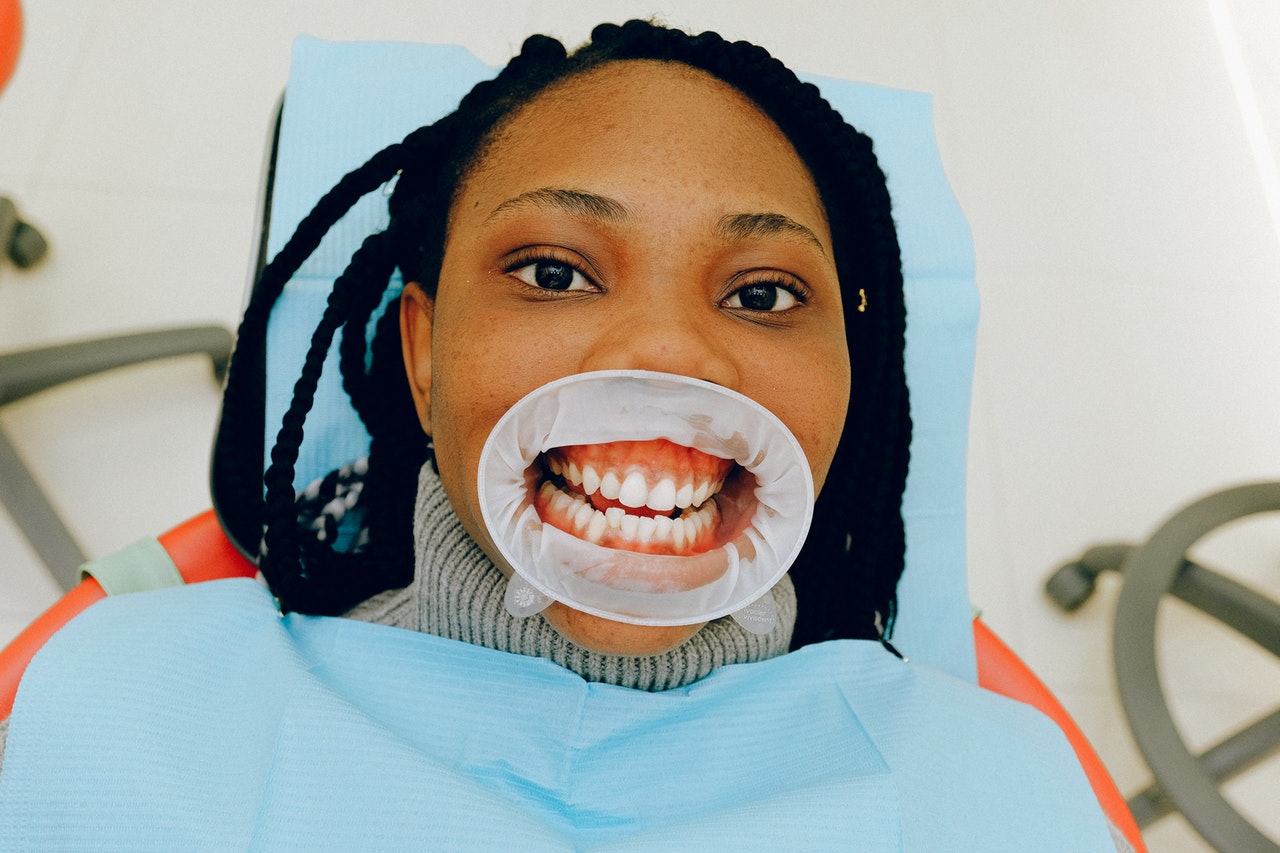
- Dental cheek retractors (this tool, available in plastic and stainless steel, helps you get an unobstructed view of the mouth)
- Occlusal intraoral mirror to capture full arch and also aid buccal-view images
4. Warm Up Your Mirrors
If you plan to use an intraoral mirror to help you produce the best photos, have a plan for defogging your mirrors. Some dentists warm up their mirrors by immersing them in hot water just before taking the photos. Others use heating pads to raise the temperature of the mirrors.
5. Moisten Lips
Once it’s time to take photos, provide your patient with Vaseline, which will keep the patient comfortable as they stretch their mouth to smile. Vaseline also makes it easier for the intraoral mirror and retractors to slide in.
6. Keep Your Patient Relaxed
Whether you choose to take photos with your patient standing or sitting in the chair, ensure the following:
- For front images, your patient is facing you directly without contorting their body or twisting their neck
- For profile images, you move instead of asking the patient to turn (this allows you to keep the patient relaxed and in a neutral/ natural position for the face and neck)
- Position your camera at a 90 degree angle in relation to your patient’s teeth (otherwise, you may get a weird angle of the teeth
Also, find the right spot for taking the photo. The best photos are taken a few feet away from the patient with a macro lens (such as 85 mm or 105 mm), which makes it easy to focus up close.
7. Take a Series of Photos
Let’s talk about which photos to take. To have enough photos to draw from, definitely take more photos than you think you need. This way, you’ll have a library of photos to draw from when you need to make your case.
Here’s a list of the best dental photos to take:
- Face Forward Relax
- Face Forward Smile
- Face Forward with Retractors
- Face Forward Lip at Rest, Mouth Slightly Open
- Profile Relax
- Profile Smile
- Profile, Lip at Rest, Mouth Slightly Open
- Left Lateral Views with Retractors
- Right Lateral Views with Retractors
- Mouth Open, Teeth Together
- Isolated Teeth With a Contraster (a contraster highlights tooth wear, texture, coloring)
- Full Upper Arch View
- Full Lower Arch View
8. Practice With Your Staff
Instead of practicing with a patient, start with your staff. This gives you a chance to get familiar with your equipment, especially your camera settings and office lighting. It will also give you more confidence when it’s time to take actual before-and-after dental photos with your patients.
How to Get Dental Before & After Photos Without Taking Them Yourself
You actually don’t need to take all of your dental photos yourself. You can also enlist your patients to take their own before-and-after photos. While these photos may not be useful for consultations, they are excellent to use for social proof.
Provide your patients with instructions on how to take their own before-and-after photos. Then, run a contest on social media to showcase your work. This can help you generate new leads for your dental practice, too. As your patients share with their social networks, they’ll also be promoting your dental practice.
How to Use Your Dental Before-and-After Photos
Whether you take the photos yourself or enlist your patients to do it, here’s what to do with your photos next.
Include Your Photos as Part of the Patient's Dental Record
Make it a point to take dental photos at the start of every new patient relationship. These photos will help your staff identify patients when they arrive. However, these photos can also be used as a record of what you’ve done for your patient. So, taking a photo during your first consultation is a smart idea, even if you don’t need them right away.
Use Them For Treatment Planning
Take before photos as a tool to help your patients identify what they don’t like about their smile. Photos make it easier to get on the same page with your patients about their trouble areas.
Educate Your Patients in the Chair
You can also use before-and-after photos that you’ve taken of others to show your patient treatment recommendations. These photos will show patients what you can do.
For Insurance Purposes
Sometimes, carriers ask for additional documentation before authorizing. You can use photos to help your case.
Use For Training Purposes
Help your staff know what you offer so that they can be better informed when they talk to your patients about the services you provide.
Share Photos as Part of Your Marketing Strategy
Include before-and-after dental photos that you’ve taken on your website, social media, brochures, and direct mail postcards as a way to show prospective patients what you can provide. Aim to have at least one set of before-and-after photos for each service that you provide, including crowns, veneers, bonding, whitening, and gum reshaping.
Don’t forget to add a caption to your dental photos. Share a bit of the patient’s background and the reason why they came to you for help. Remember to use everyday language in your caption (instead of dental jargon) to add context to the photos and make it easier for prospective patients to understand.
It’s important to remember this: The general audience may be sensitive to graphic images. If a before image causes a visceral “click away” response from your audience, they won’t see the after. To avoid this, if you have a before image that may trigger sensitive people, show the after photo first and then add a warning about the graphic image.
Other places to share before-and-after photos include:
- Social media page
- Email newsletter
- As part of the wall art for your office
Final Thoughts
Whether you're taking them for clinical use, to educate your patient while in the chair, or to market your services to prospective patients, before-and-after photography can play a crucial role in your dental practice. Use the above tips to take amazing dental photos.
Before you go, check out these related posts:
Share this
- November 2024 (1)
- October 2024 (4)
- February 2024 (1)
- January 2024 (2)
- December 2023 (1)
- November 2023 (1)
- October 2023 (1)
- September 2023 (2)
- August 2023 (4)
- July 2023 (3)
- June 2023 (2)
- May 2023 (1)
- April 2023 (3)
- March 2023 (2)
- February 2023 (2)
- January 2023 (3)
- December 2022 (2)
- October 2022 (3)
- September 2022 (2)
- August 2022 (2)
- July 2022 (1)
- June 2022 (1)
- May 2022 (1)
- April 2022 (5)
- March 2022 (4)
- February 2022 (20)
- January 2022 (14)
- December 2021 (1)
- November 2021 (4)
- October 2021 (1)
- September 2021 (2)
- August 2021 (12)
- July 2021 (40)
- June 2021 (2)
- May 2021 (5)
- April 2021 (7)
- March 2021 (4)
- February 2021 (13)
- January 2021 (5)
- December 2020 (3)
- November 2020 (24)
- October 2020 (37)

